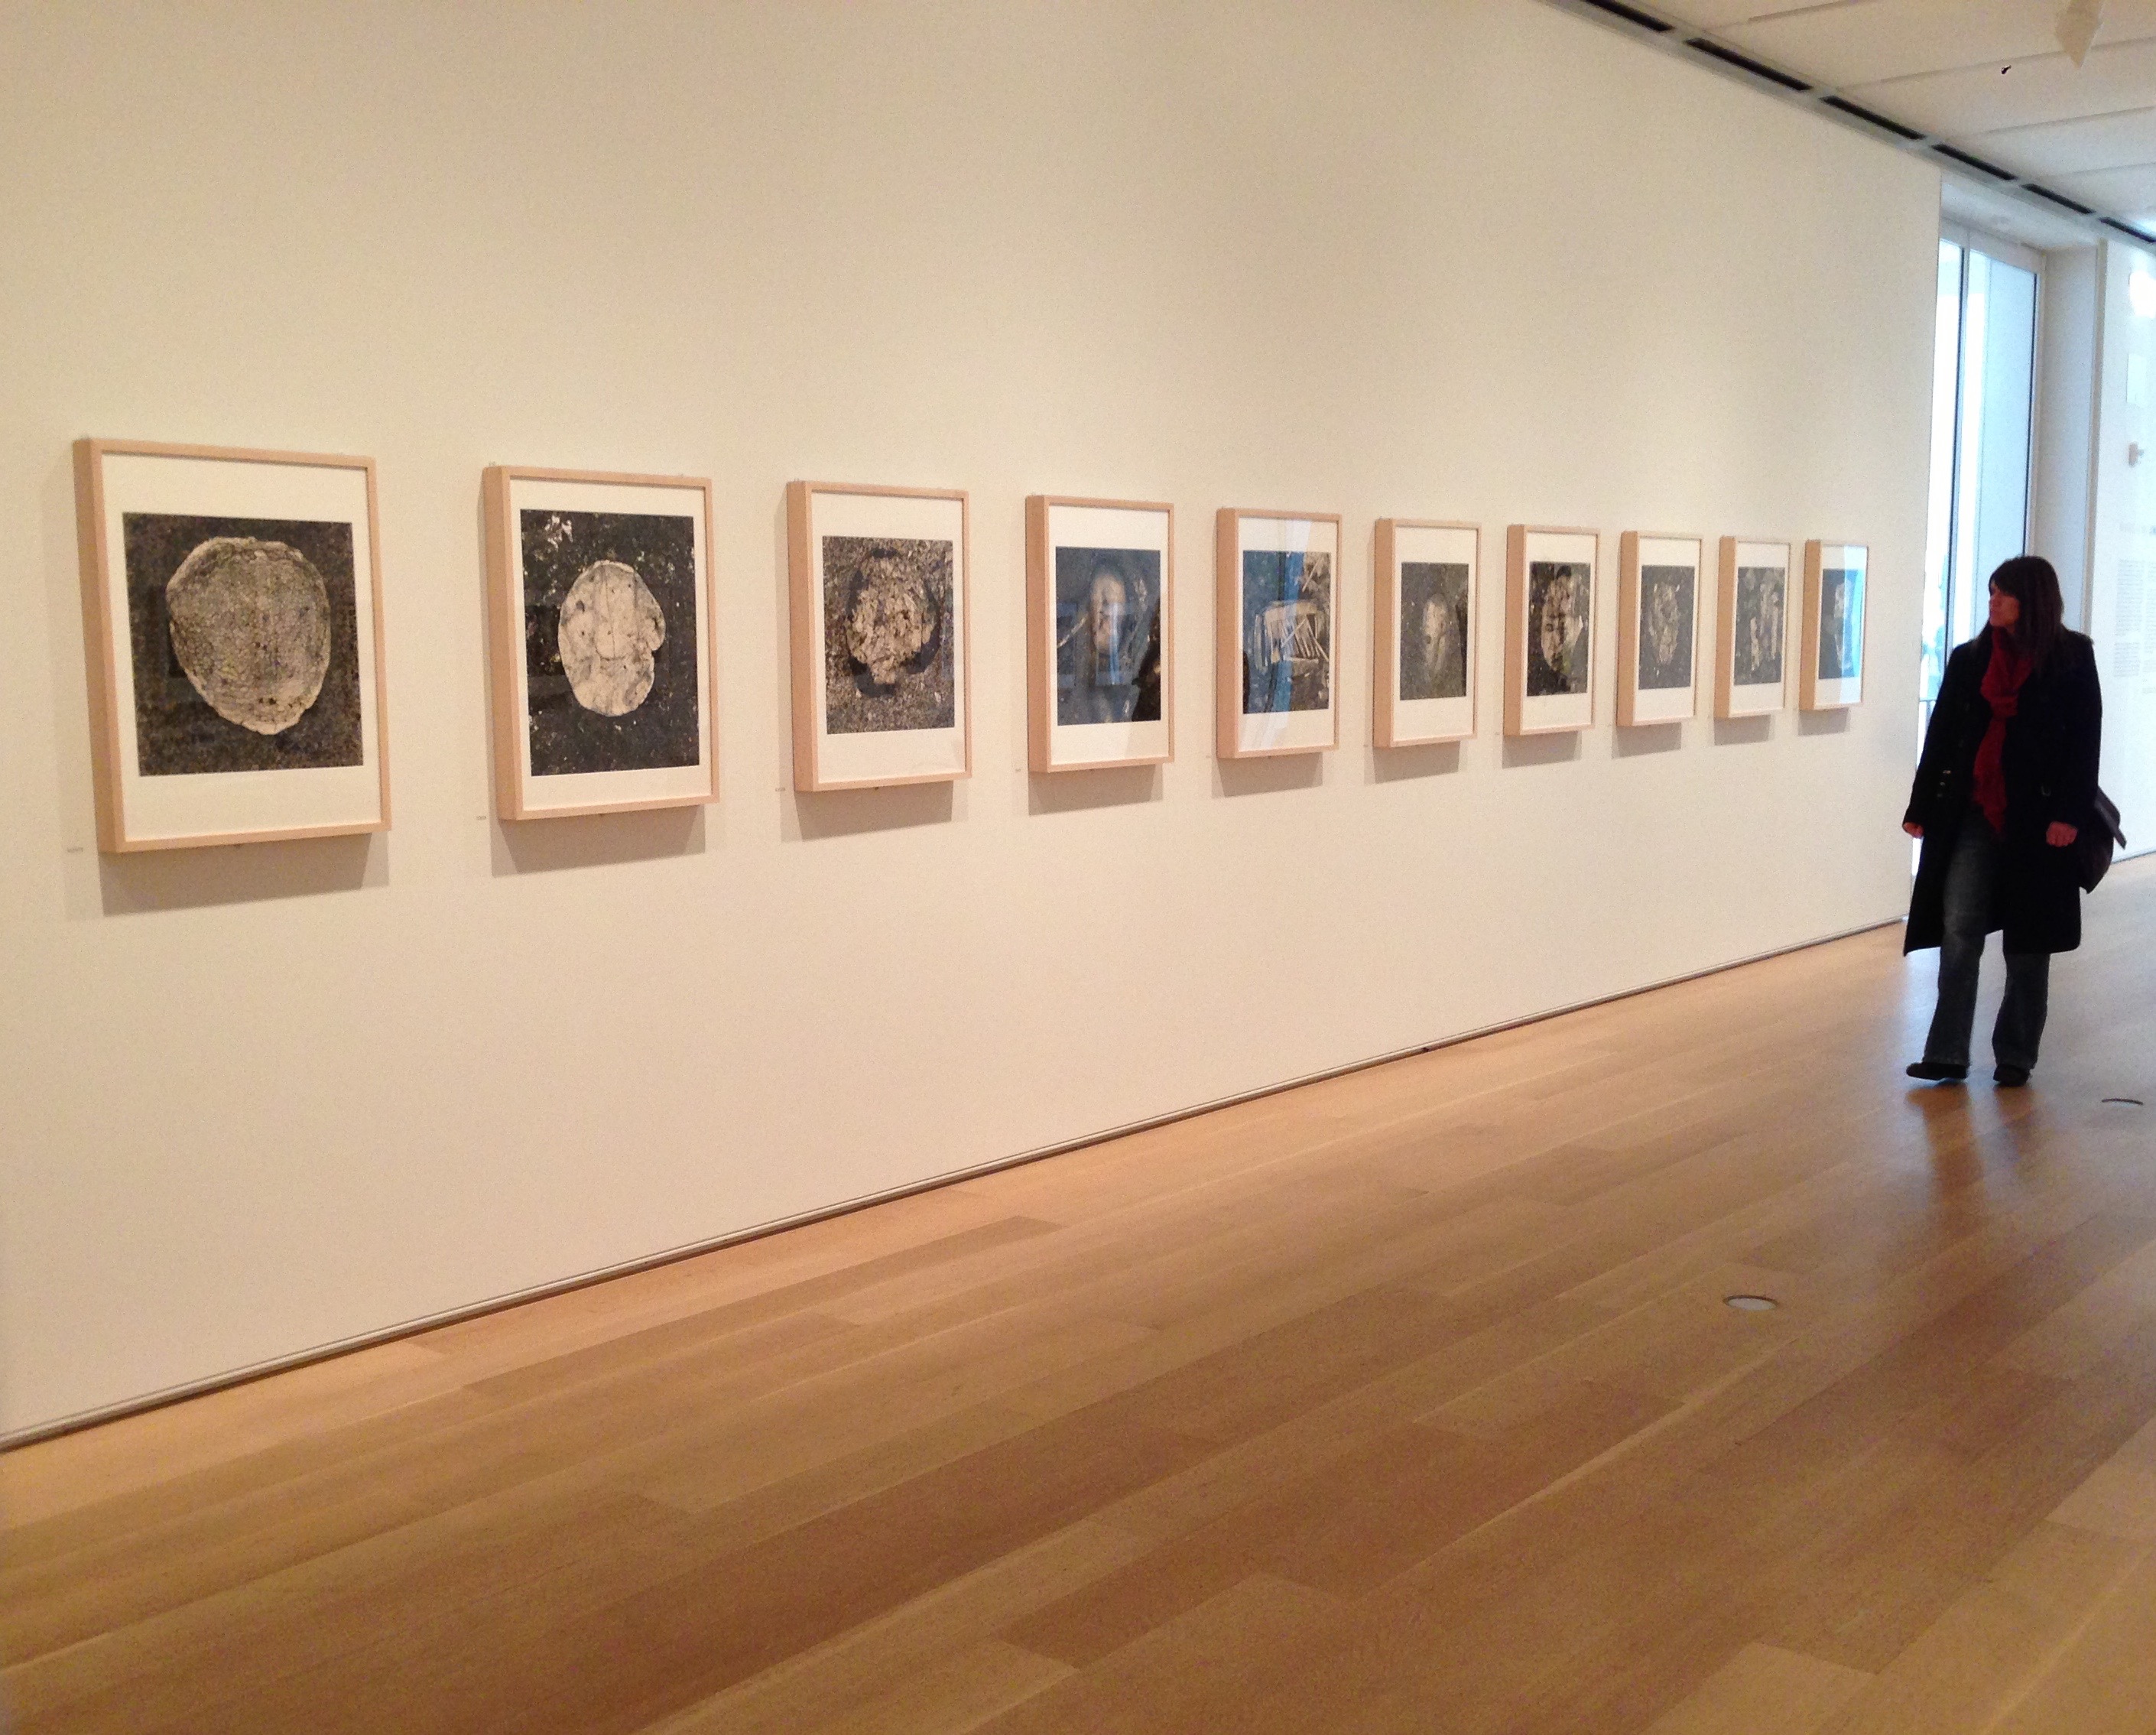
FRAMING FINE ART PHOTOGRAPHS
The installation and presentation style are critical to having a successful show. Fine art framing for galleries has a limited vocabulary and the discerning eye can quickly determine if you have taken the time to present your work properly. This slideshow will give examples of gallery frame presentations for photography exhibits.
PRESENTATION STYLES
The first decision is to select the presentation style that best suits your photograph. The choice is whether to use a glazing (acrylic or glass) presentation or to mount it on substrate and frame it without glazing. The following gives examples and explanations which one is most suitable for your work.
MATTED PRESENTATION WITH GLAZING
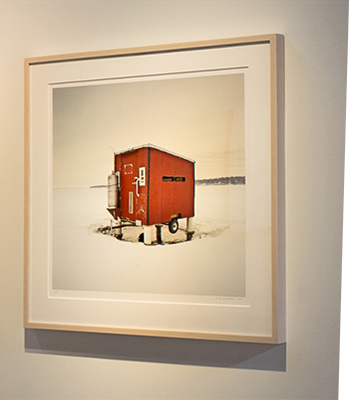
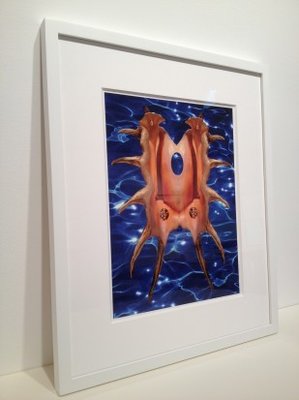
Matted presentations are used when you want to cover the edges of the photograph. This is often done when the artwork has large borders around the image.
ONLINE CALCULATOR
We are taking the stress out of calculating fractions. Just measure your artwork and decide on the border size or outside dimension and our new custom calculator will do the rest.
Metropolitan has framing advice and videos on different methods of hinging or securing the photograph to the matboard when using a mat.Click to see videos on using a T-Hinge, plastic mounting corners, paper mounting corners, or edge strips.
NON-MATTED PRESENTATION WITH GLAZING
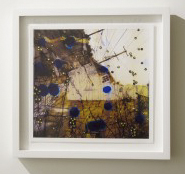
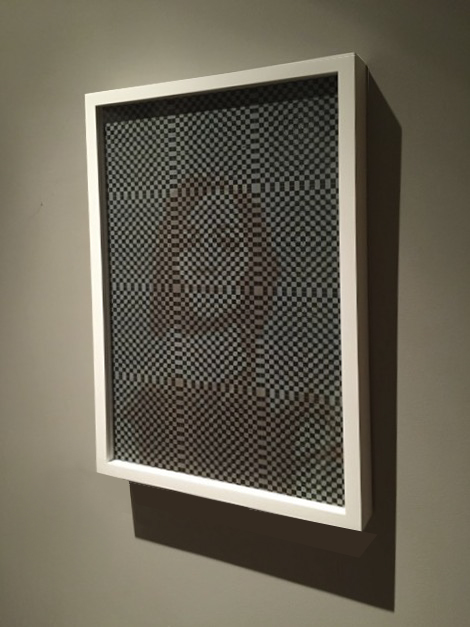
When photographs are not matted it is necessary to separate the photograph from the glazing for conservation reasons. Either plastic, wood, or matboard spacers are used to provide the separation. Whether the frame comes to the image of the photograph or there is a white border left around the image is an aesthetic decision. One of the reasons a white border is left around the image is that the shadow cast by the spacer will be on the white border and not on the photographic image itself.
Sometimes the white border becomes a distraction because the photograph has little or no white in the image. In this case, we would recommend framing to the image. If using a 1/4 spacer less of a shadow is cast. If the photo is floated on a matboard then a v-hinge would be used to attach it to the backing board. See framing advice for attaching spacers/strainers and final fitting instructions.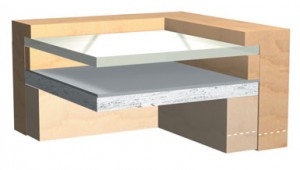
FRAMING WITHOUT GLAZING
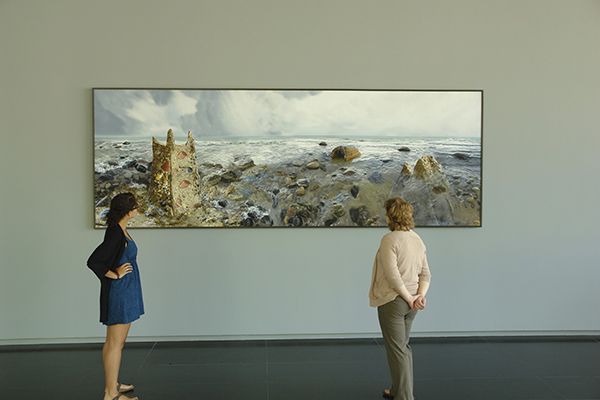
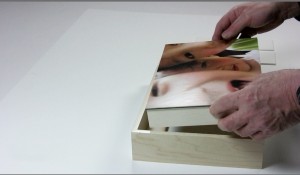 Floater frames are now being used on photographs that are mounted and framed without glazing. This presentation became popular for very large photos that made framing them with glazing too technically difficult as well as too heavy to move and install. The presentation is now used on photographs of all size when glazing isn't used. They photographs are mounted on different substrates such as dibond or sentra. Then a wooden cradle is then mounted on the back of the mounted photograph. The cradle allows the frame to be attached to the floater frame. Floater frames for mounted photographs provide a professional presentation while also providing protection to the edges of the panels. By recessing the image it also provides protection to the surface when moving and installing your exhibit. See framing advice for fitting instructions.
Exhibition Tip: Matted Presentations
When mounting an exhibition many of our museum clients standardize the frame sizes and vary the mat borders in order to make the overall exhibit more visually coherent.
Metropolitan has added more options to make it easier for our customers to calculate the borders on their mats when mounting an exhibition using standardized frame sizes. When dividing fractions it is easy to make a mistake.
We have added two new options to our online mat calculator to make sure they are done correctly.
Just enter the inside dimension of the artwork and the frame size and we will calculate the borders for you. We have also given you the option of identifying the artwork.
If you cut your own mats just print this off and you have a cutting list. If you want us to cut your mats we will include the title of the artwork with your mat so it is easy to identify which mat goes with which picture.
